Creating a New Group
Groups must be created before patients can be added to them.
To create a new group:
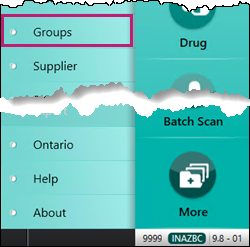
- Select More > Groups.
The Search window opens. - Enter the appropriate information into the corresponding fields.
- Select Search. The matching results display. Ensure the group does not already exist.
- Select New.

A new Group Folder opens. Enter information into each tab of the Group Folder.
Use the dropdown below to learn more about what information should be entered.
The Main tab contains demographic and basic information about the group.
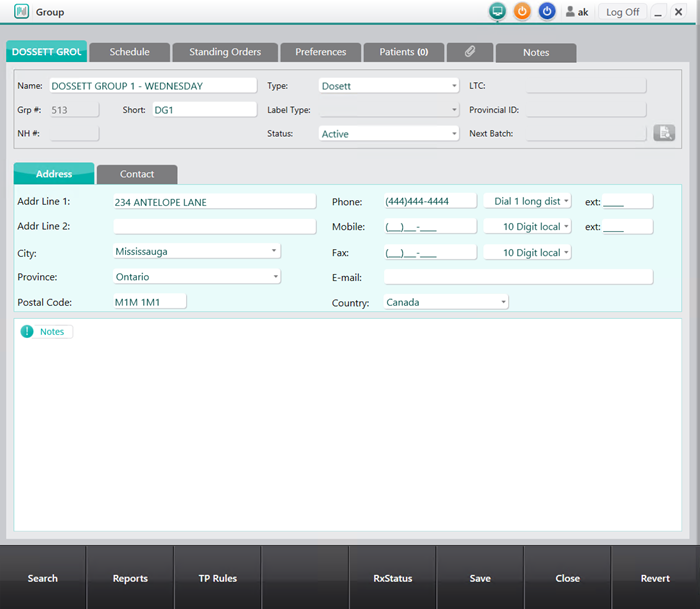
- Enter the following information:
Name - name of the group
Note: It is best practice to include the billing day in the group name.
Short - short name of the group. Maximum 5 characters.
Type - the type of group.
- Address - the address information of the pharmacy.
- Select Save.
Each group has the ability to have unique preferences.
image
To set the preferences:
- In the General section, select None in the Default Billing Code dropdown.
- In the Label section, set the Label Copies to zero to print no label copies or to a desired number.
- In the Batch section, select the Skip Evaluation checkbox.

- Select Save.
Note: The TP Threshold button provides the ability to set group-specific waive and threshold amounts that override the pharmacy level Third Party Preferences.